OmniDeck - Unified Chart Overlay
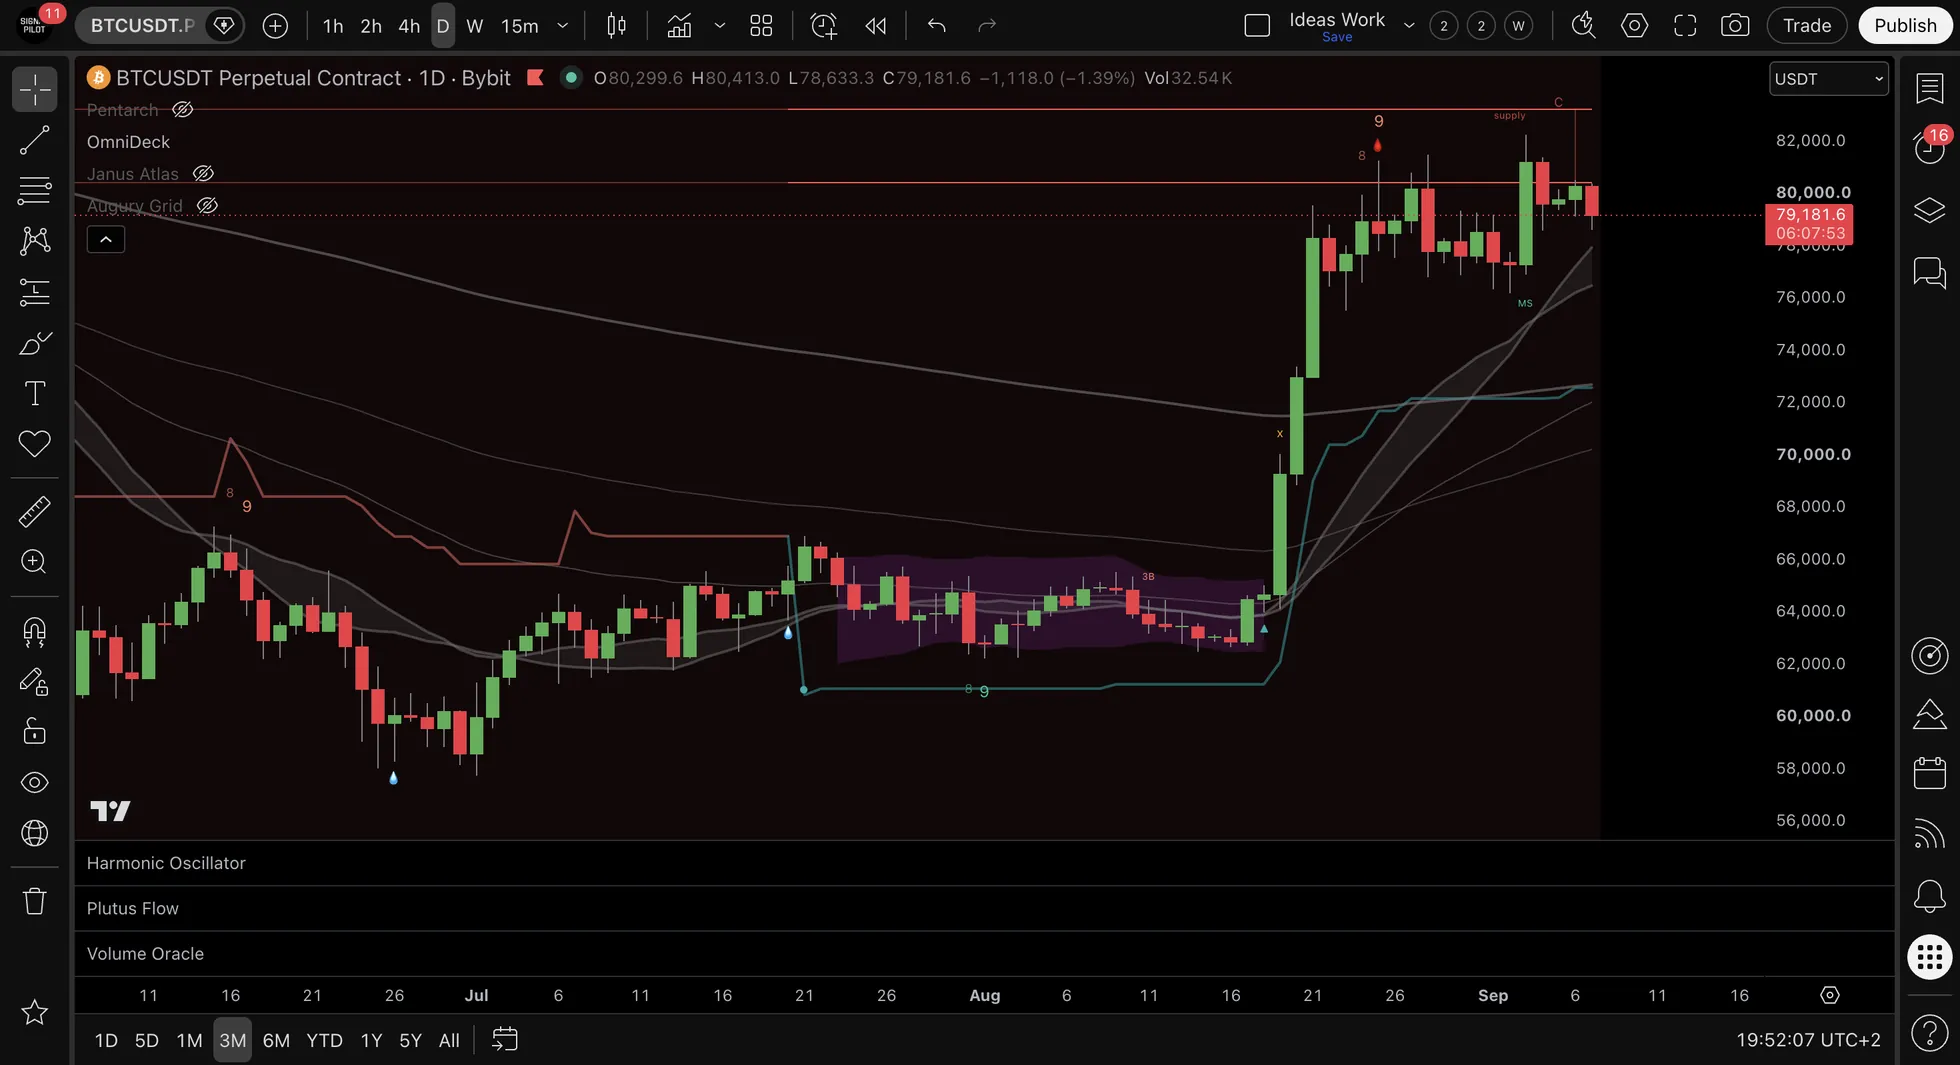
Ten systems, one formation. Each watches a single thing, and the nine that vote report to one panel. When they agree, the score climbs; when they argue, it stays low. Think of it as a show of hands, not a crystal ball.
 Watch it explainedOn our YouTube channel: every part shown on real charts, in TradingView Bar Replay.18:25
The ten systems
| Group | System | What it shows |
|---|---|---|
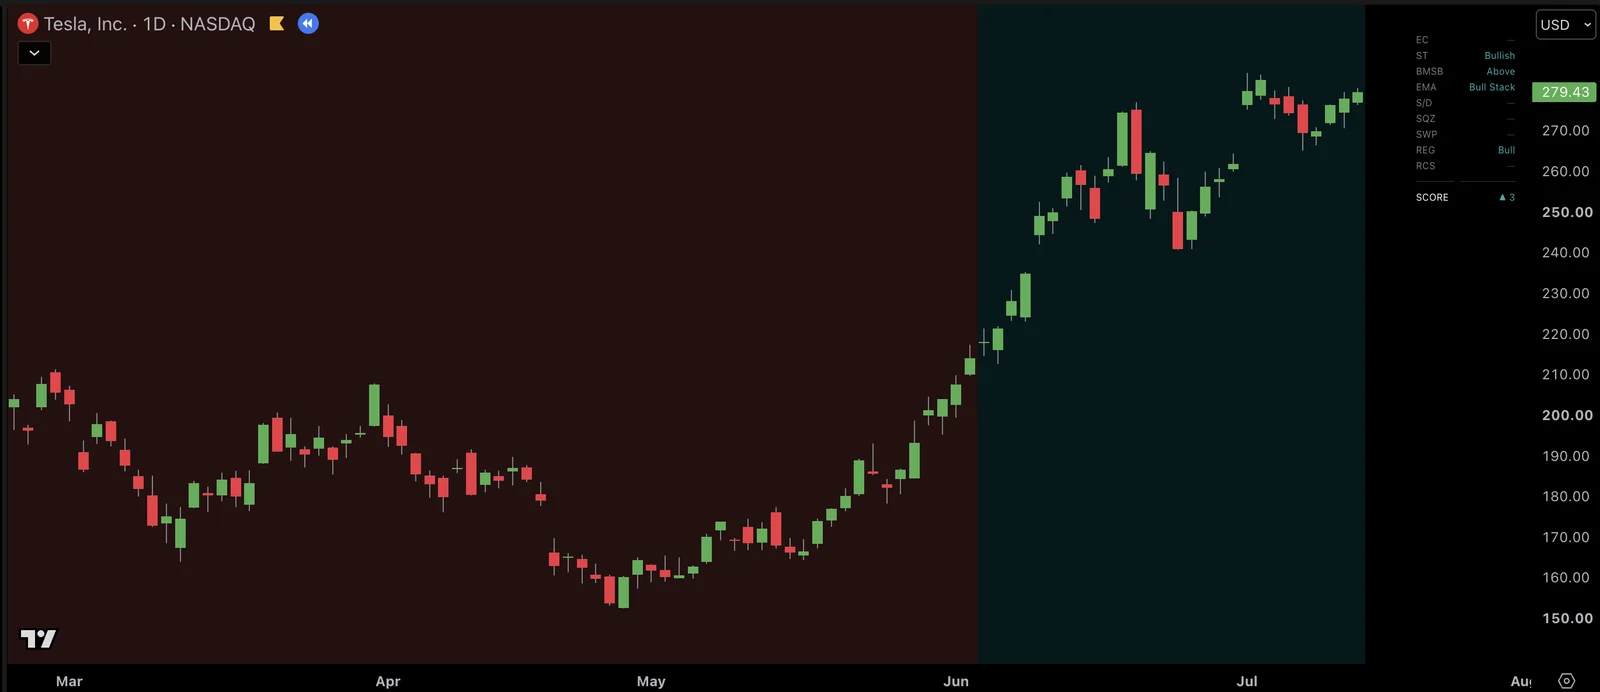
| Direction | Regime | The background colour: teal bull, red bear. The slowest voice: it waits for proof, then stays put |
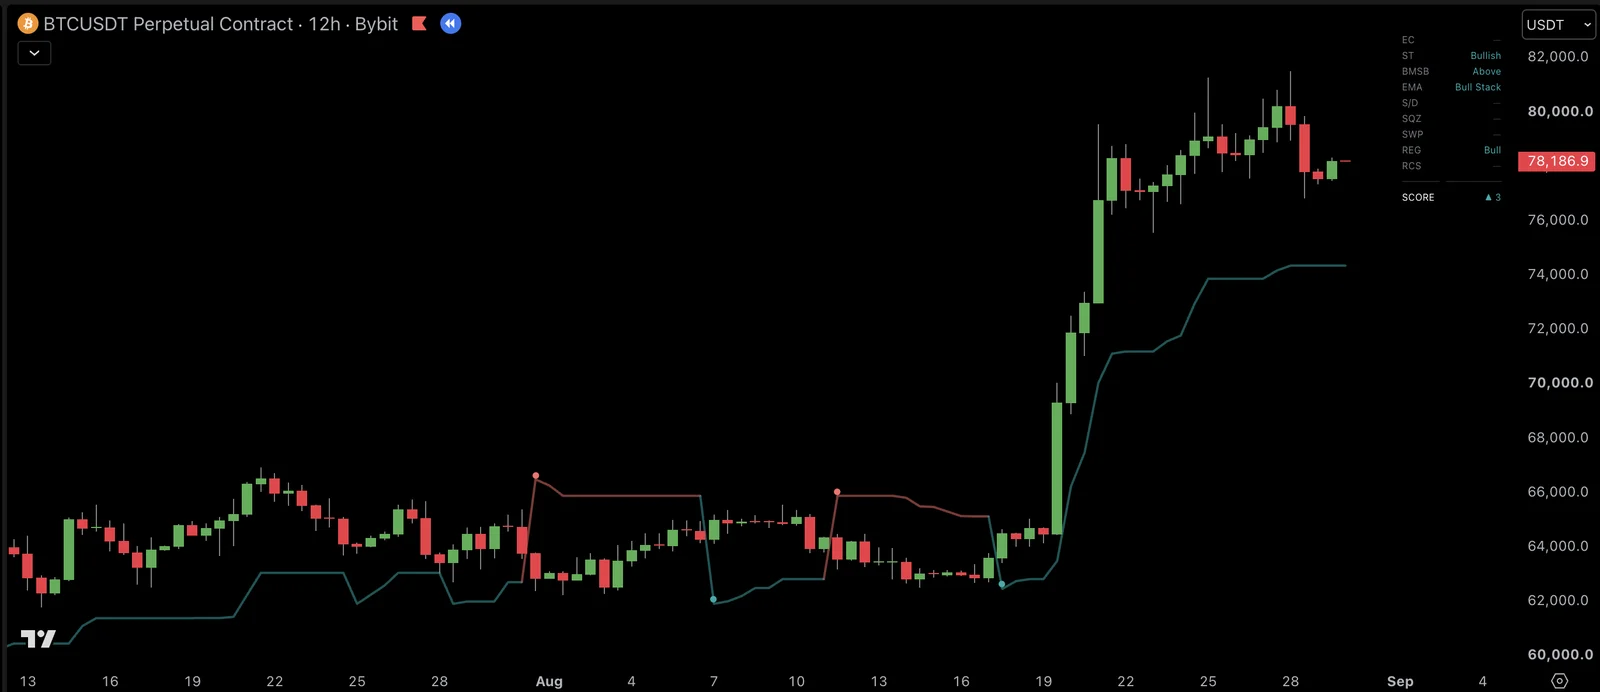
| Direction | SuperTrend | A line that trails price and jumps sides when the trend turns; a dot marks each flip |
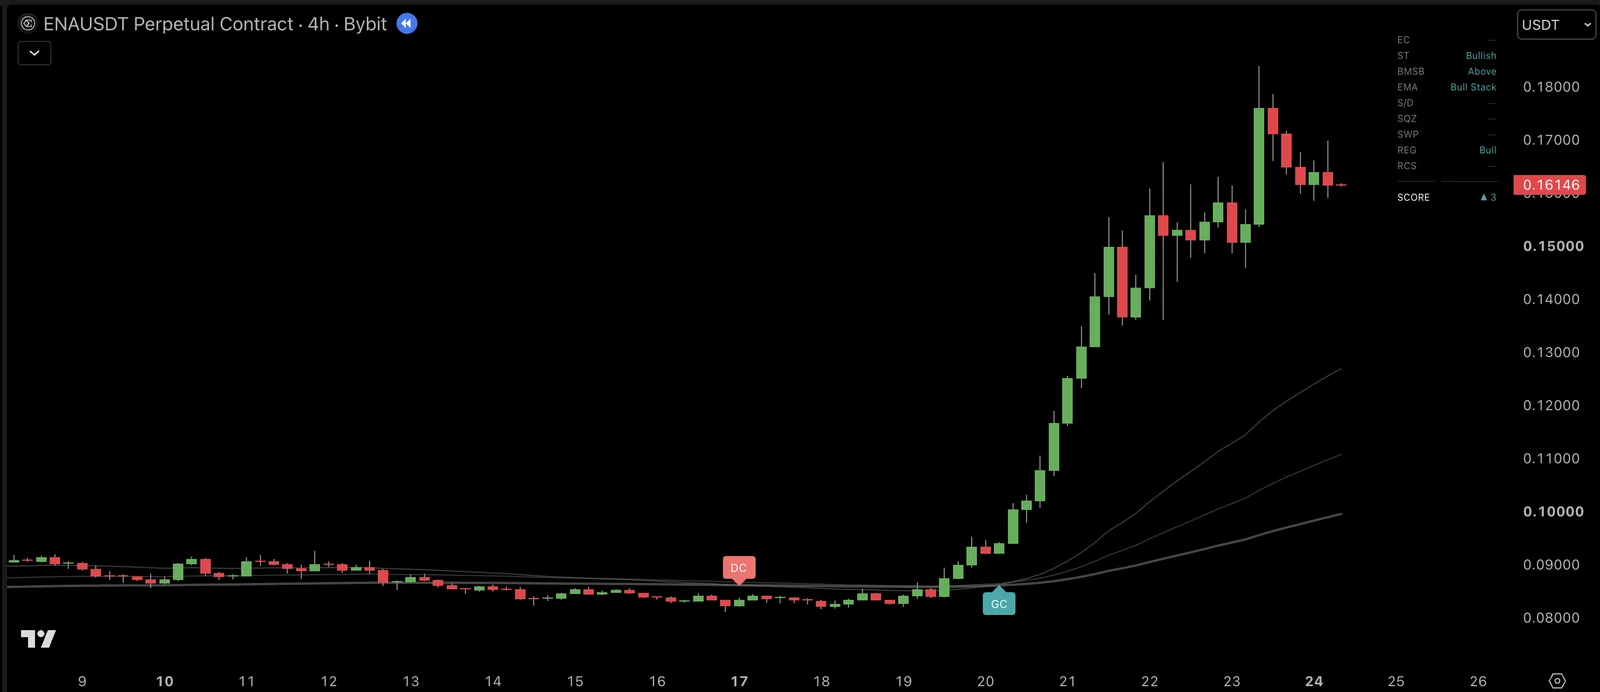
| Direction | EMA 50 · 100 · 200 | Stacked in order, they vote with the trend; tangled, they abstain. Golden and death crosses get a label, no vote |
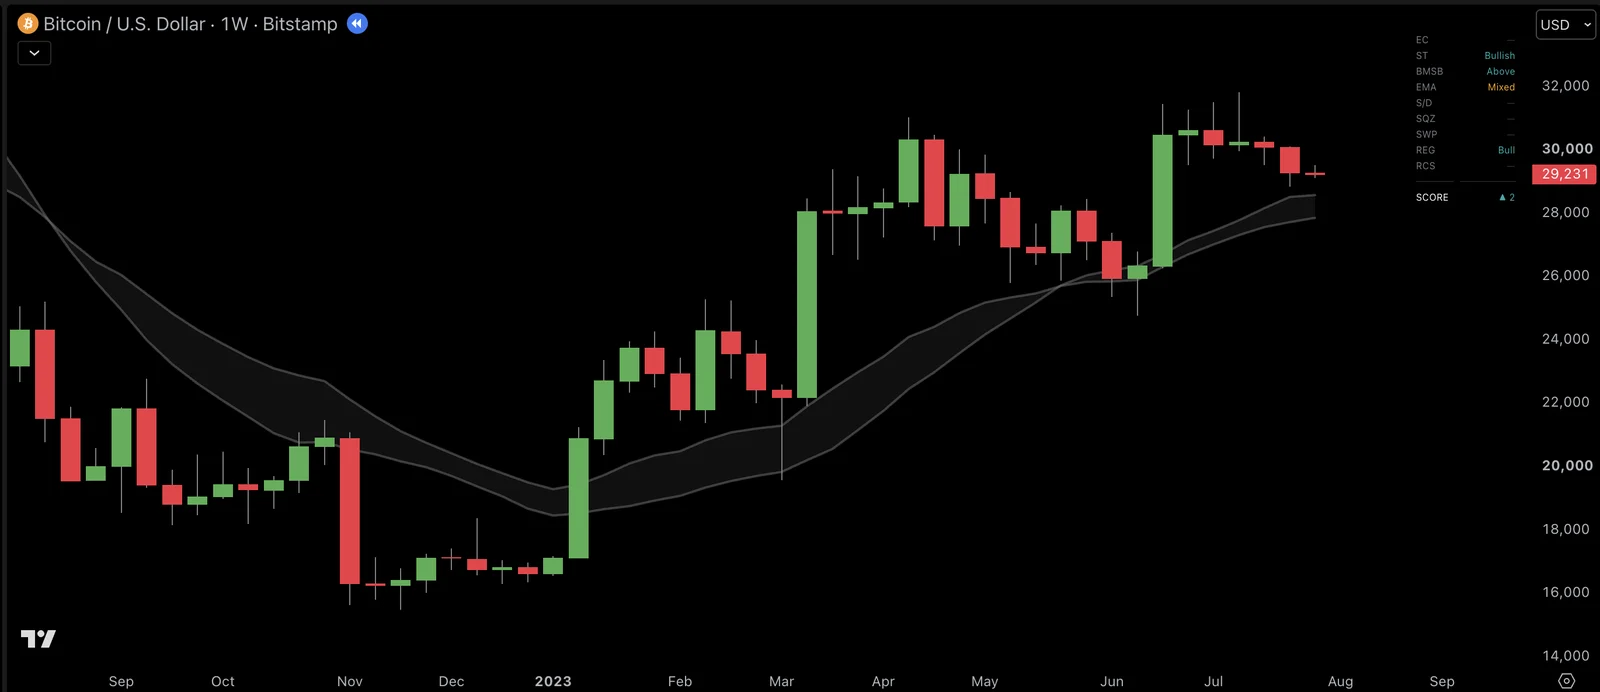
| Direction | Bull Market Support Band | The 20-week average and 21-week EMA. Above it votes up, below votes down, inside abstains |
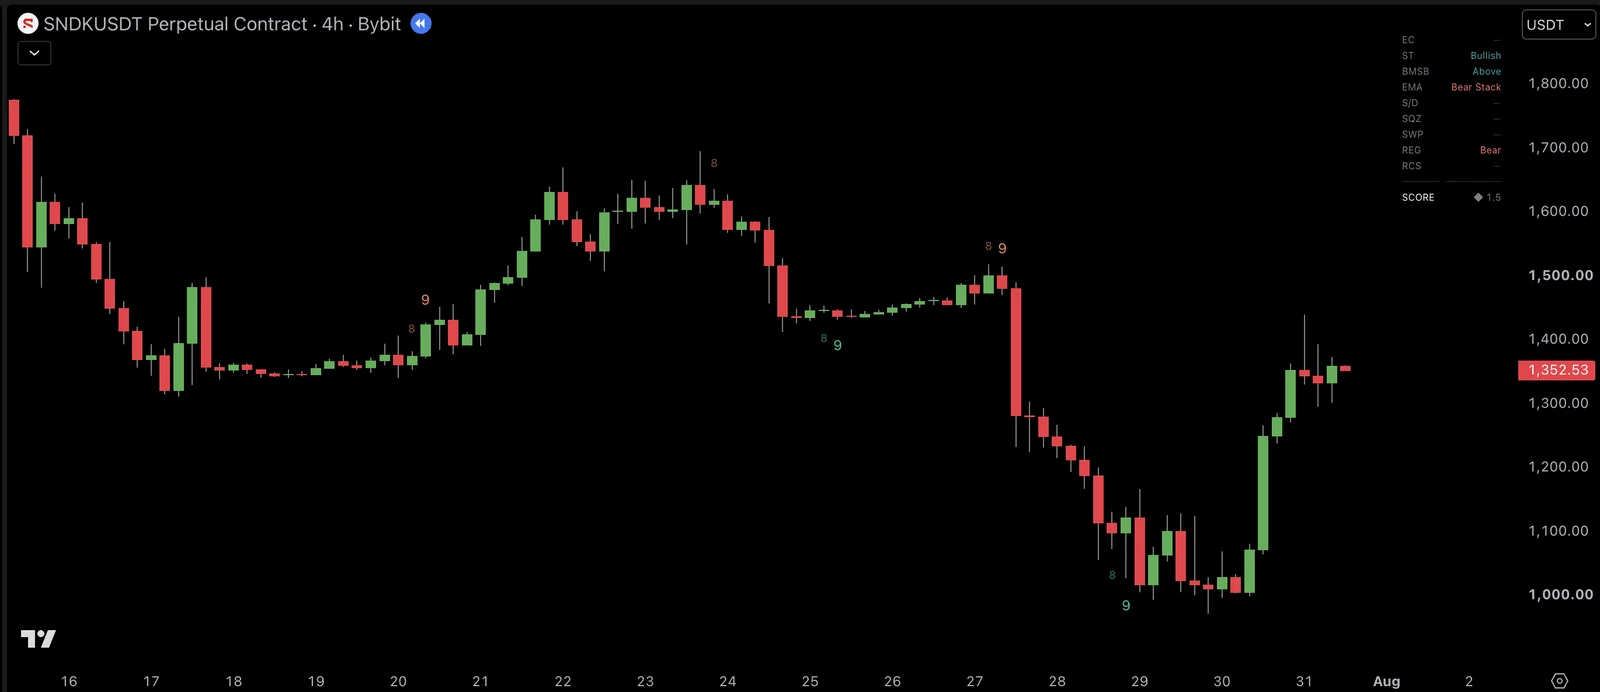
| Timing | Exhaustion Counter | Counts a run of closes in one direction: an 8 (a trend that may be tiring), a 9 (a possible reversal zone) |
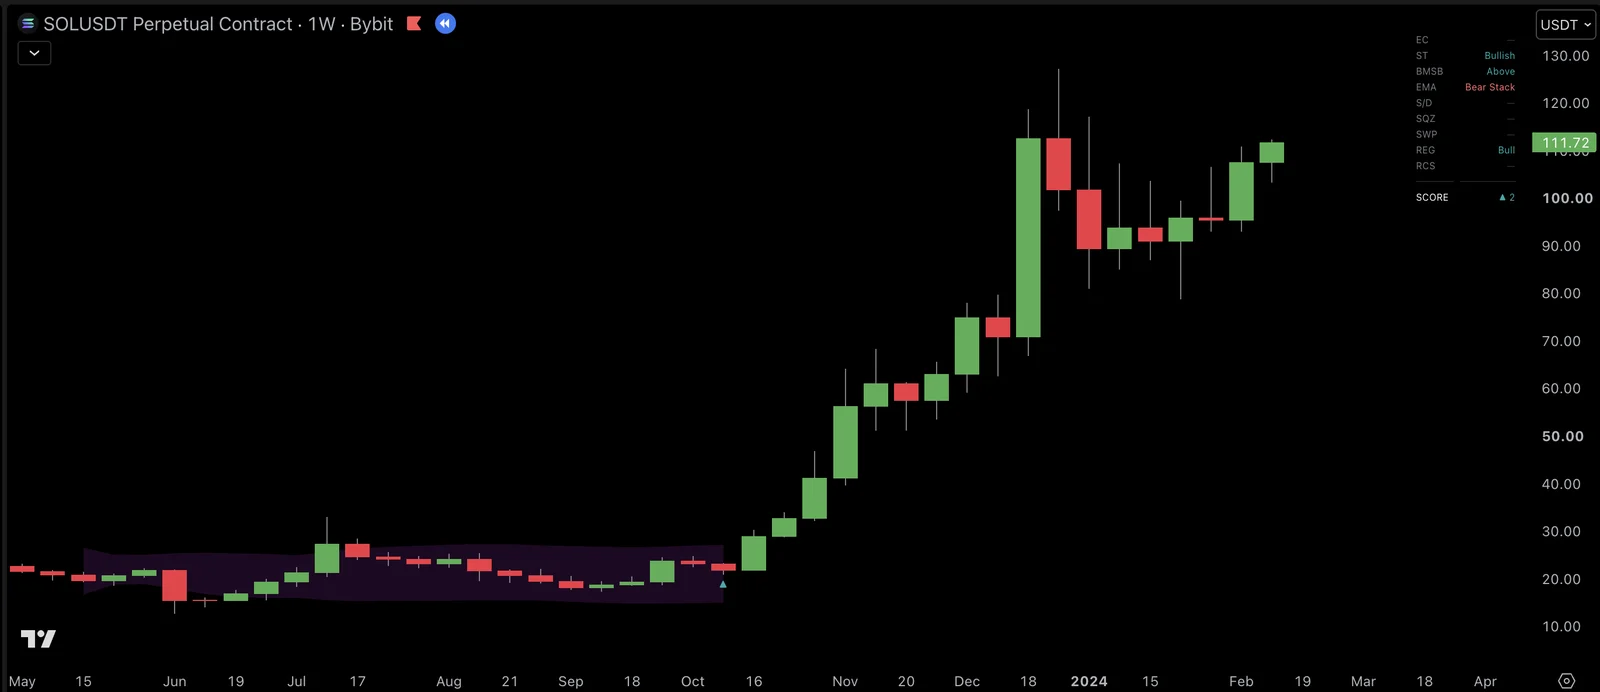
| Timing | Squeeze | A purple cloud when the market is unusually quiet, and an arrow for the way momentum leans when it breaks |
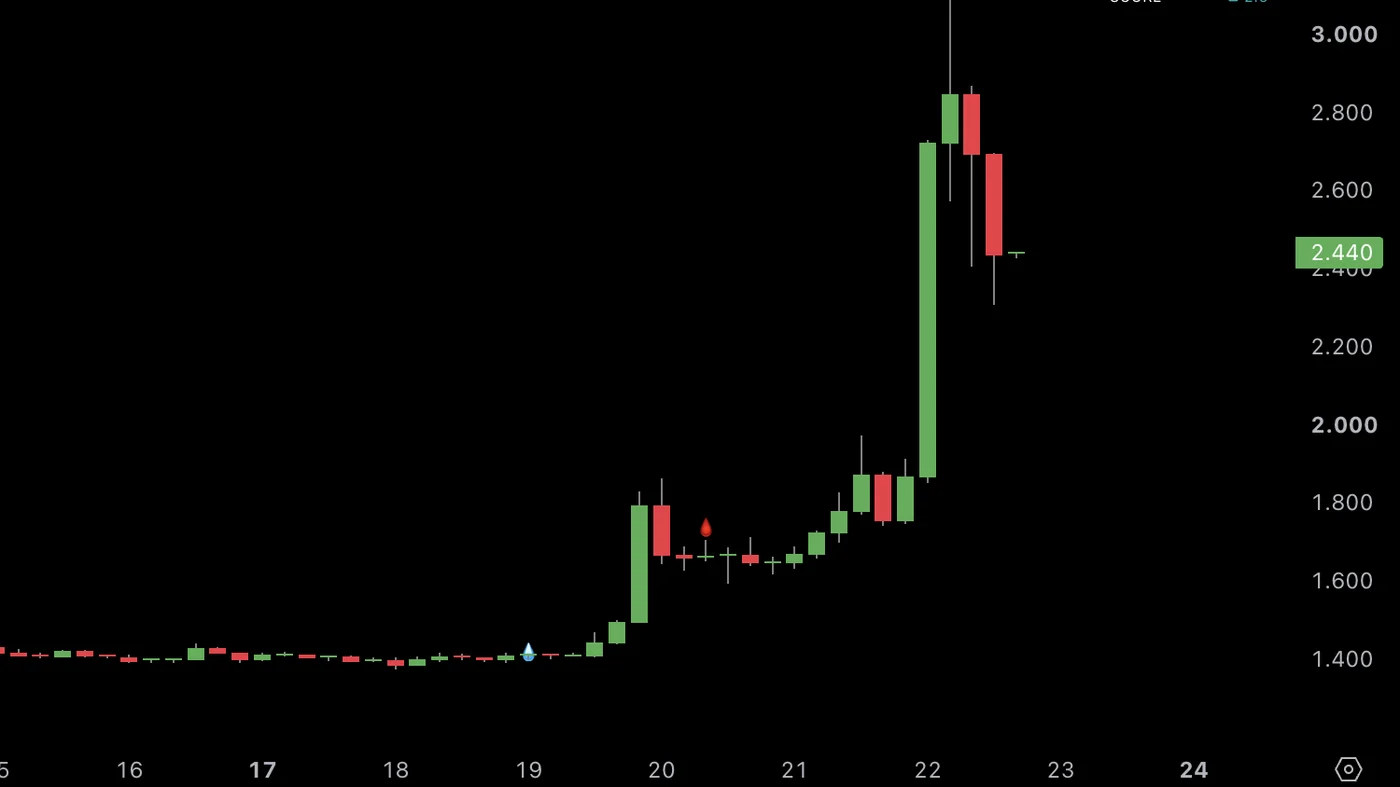
| Timing | Liquidity Sweeps | A wick through an old high or low that closes back: a drop of blood above, a drop of water below |
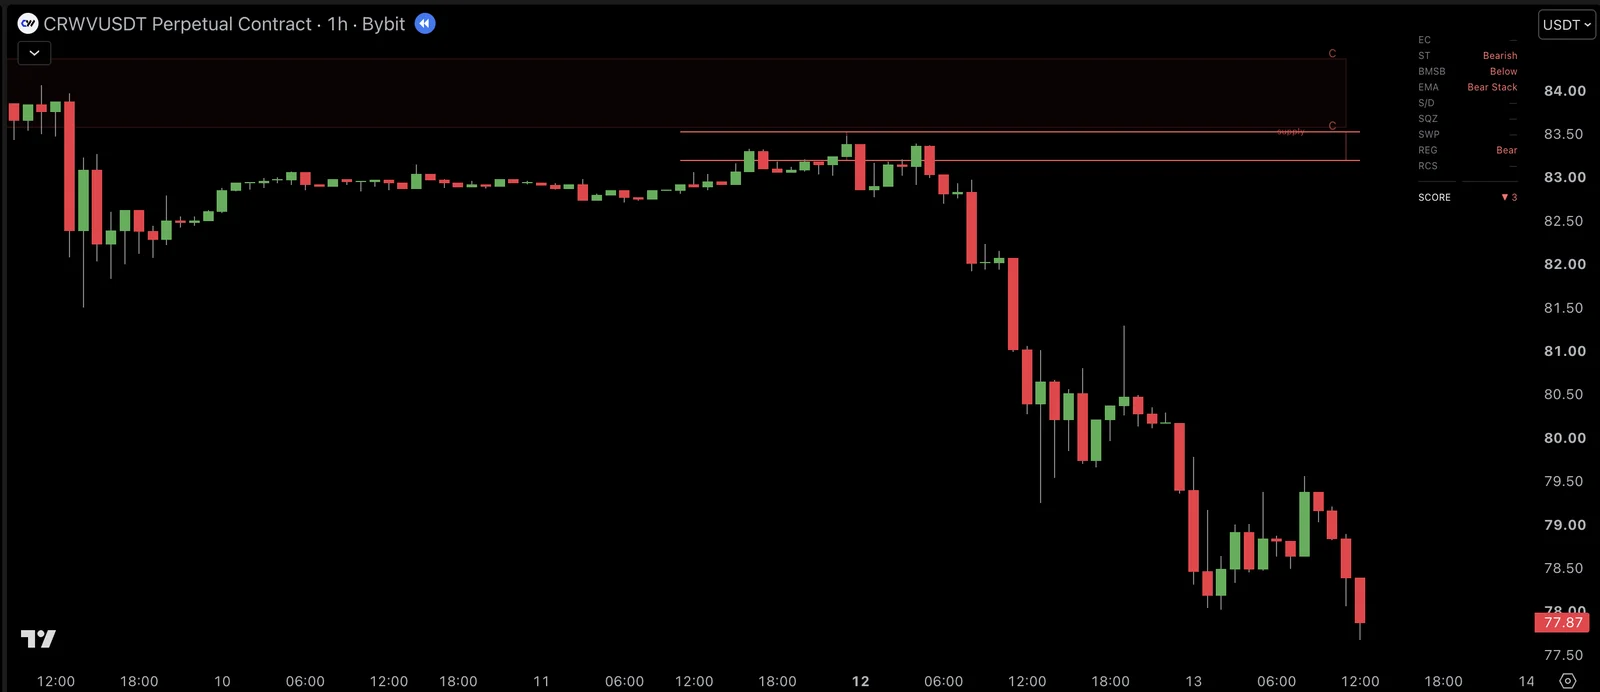
| Location | Supply and Demand Zones | Where price turned before, graded A, B or C. A bar closing through a zone removes it |
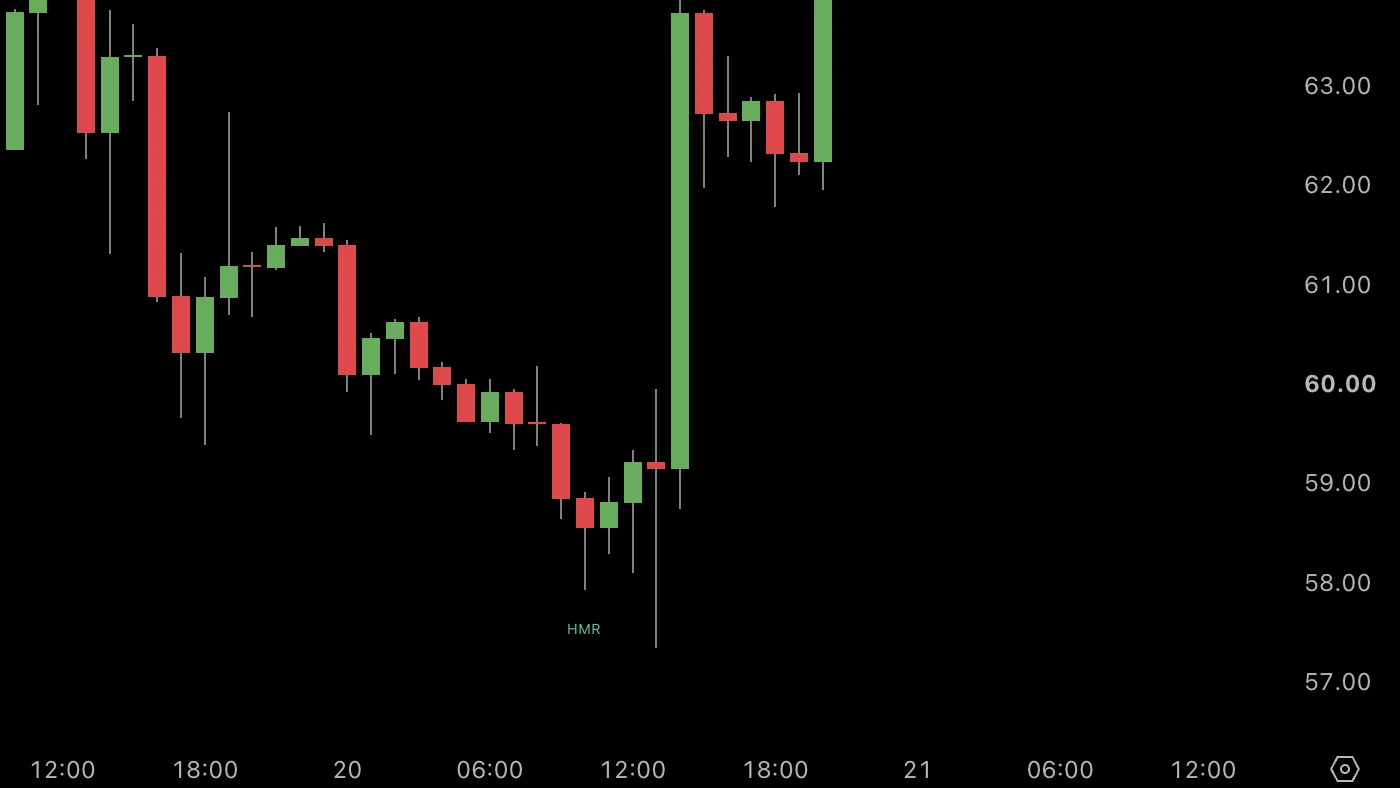
| Location | Candlestick Patterns | Sixteen known, seven on by default, counted only at swing highs and lows |
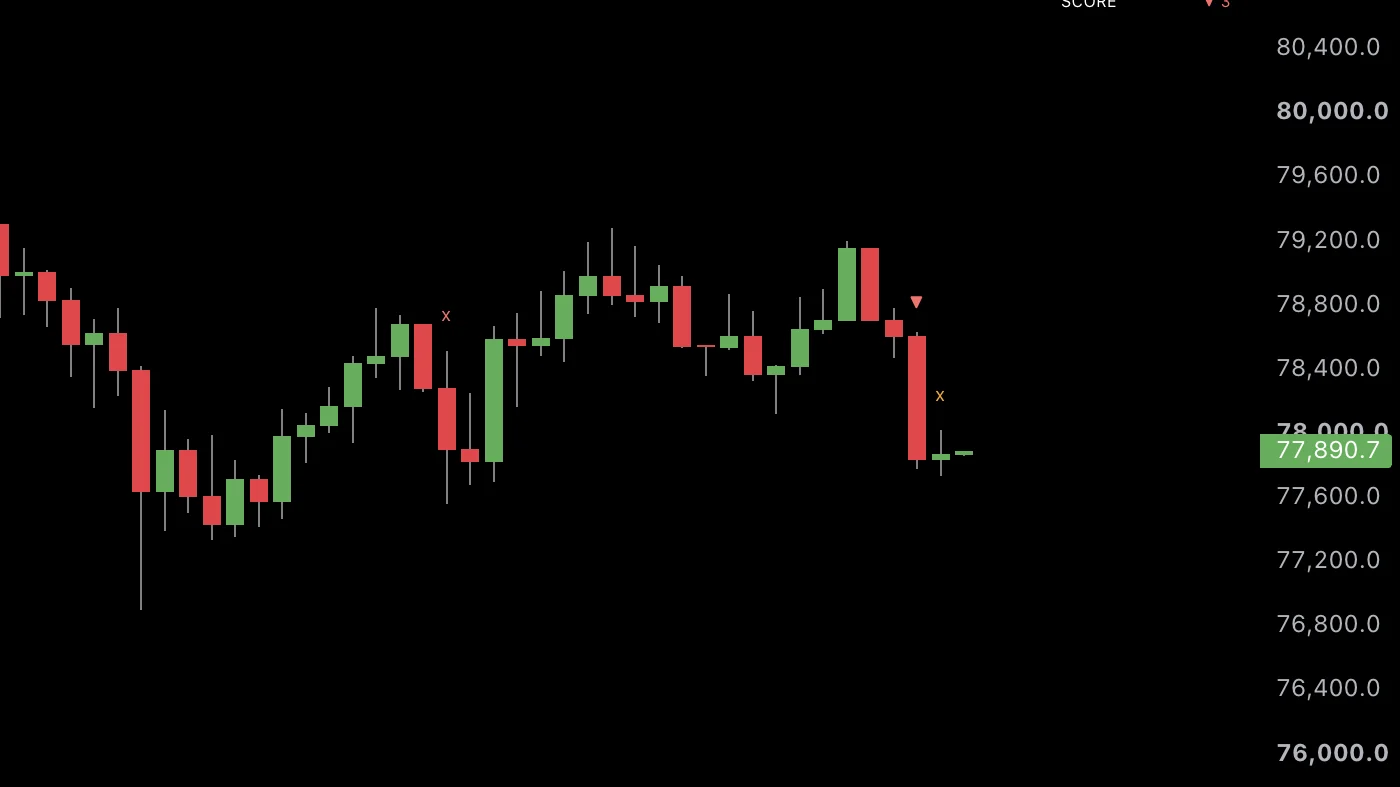
| The lookout | Caution / Danger | An orange x for strain, a red x for signs of failure. It doesn't vote |
Each system on a real chart
Each picture shows one system switched on alone, on TradingView.
The panel
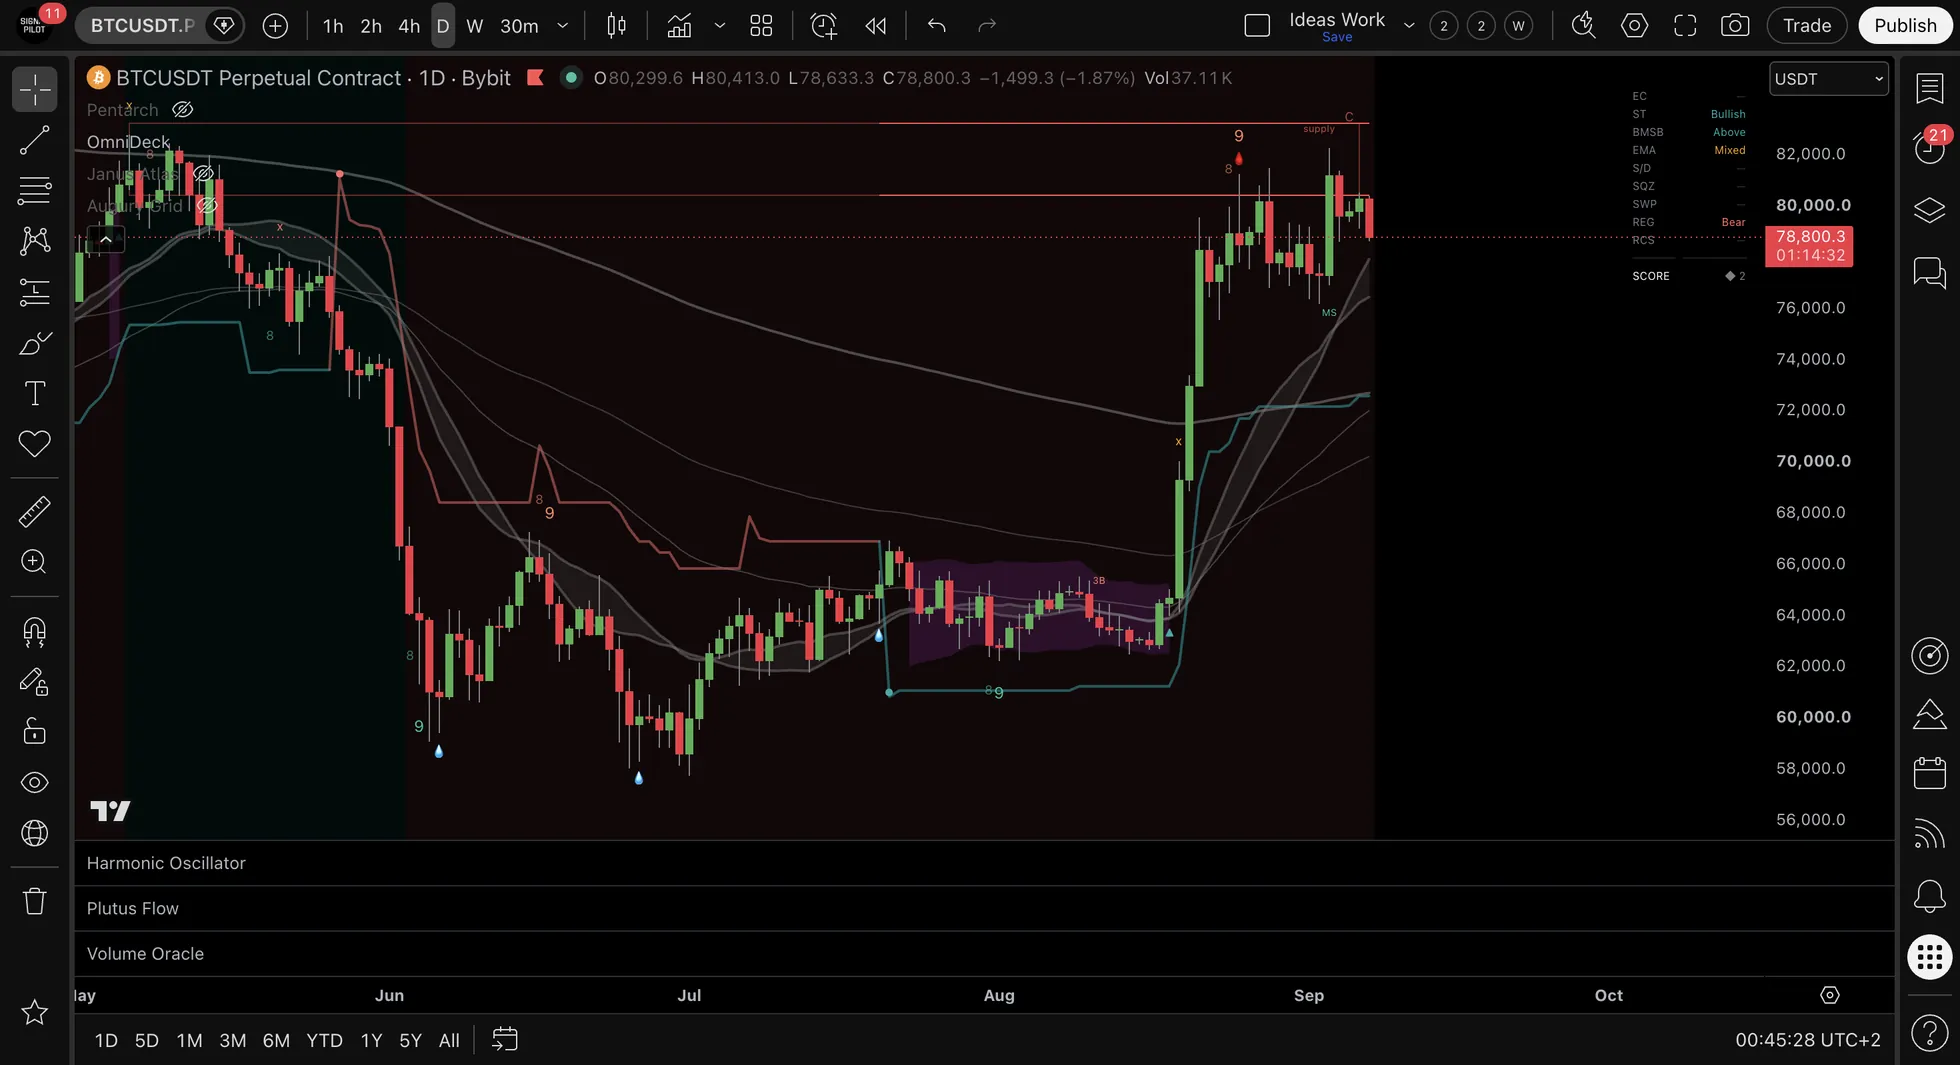
Each row is one system's vote. The panel adds up each side and shows the winner with an arrow; too close to call, and you get a diamond. A high score on a closed bar is rare, and it's what the High Confluence alert listens for.
Settings that matter
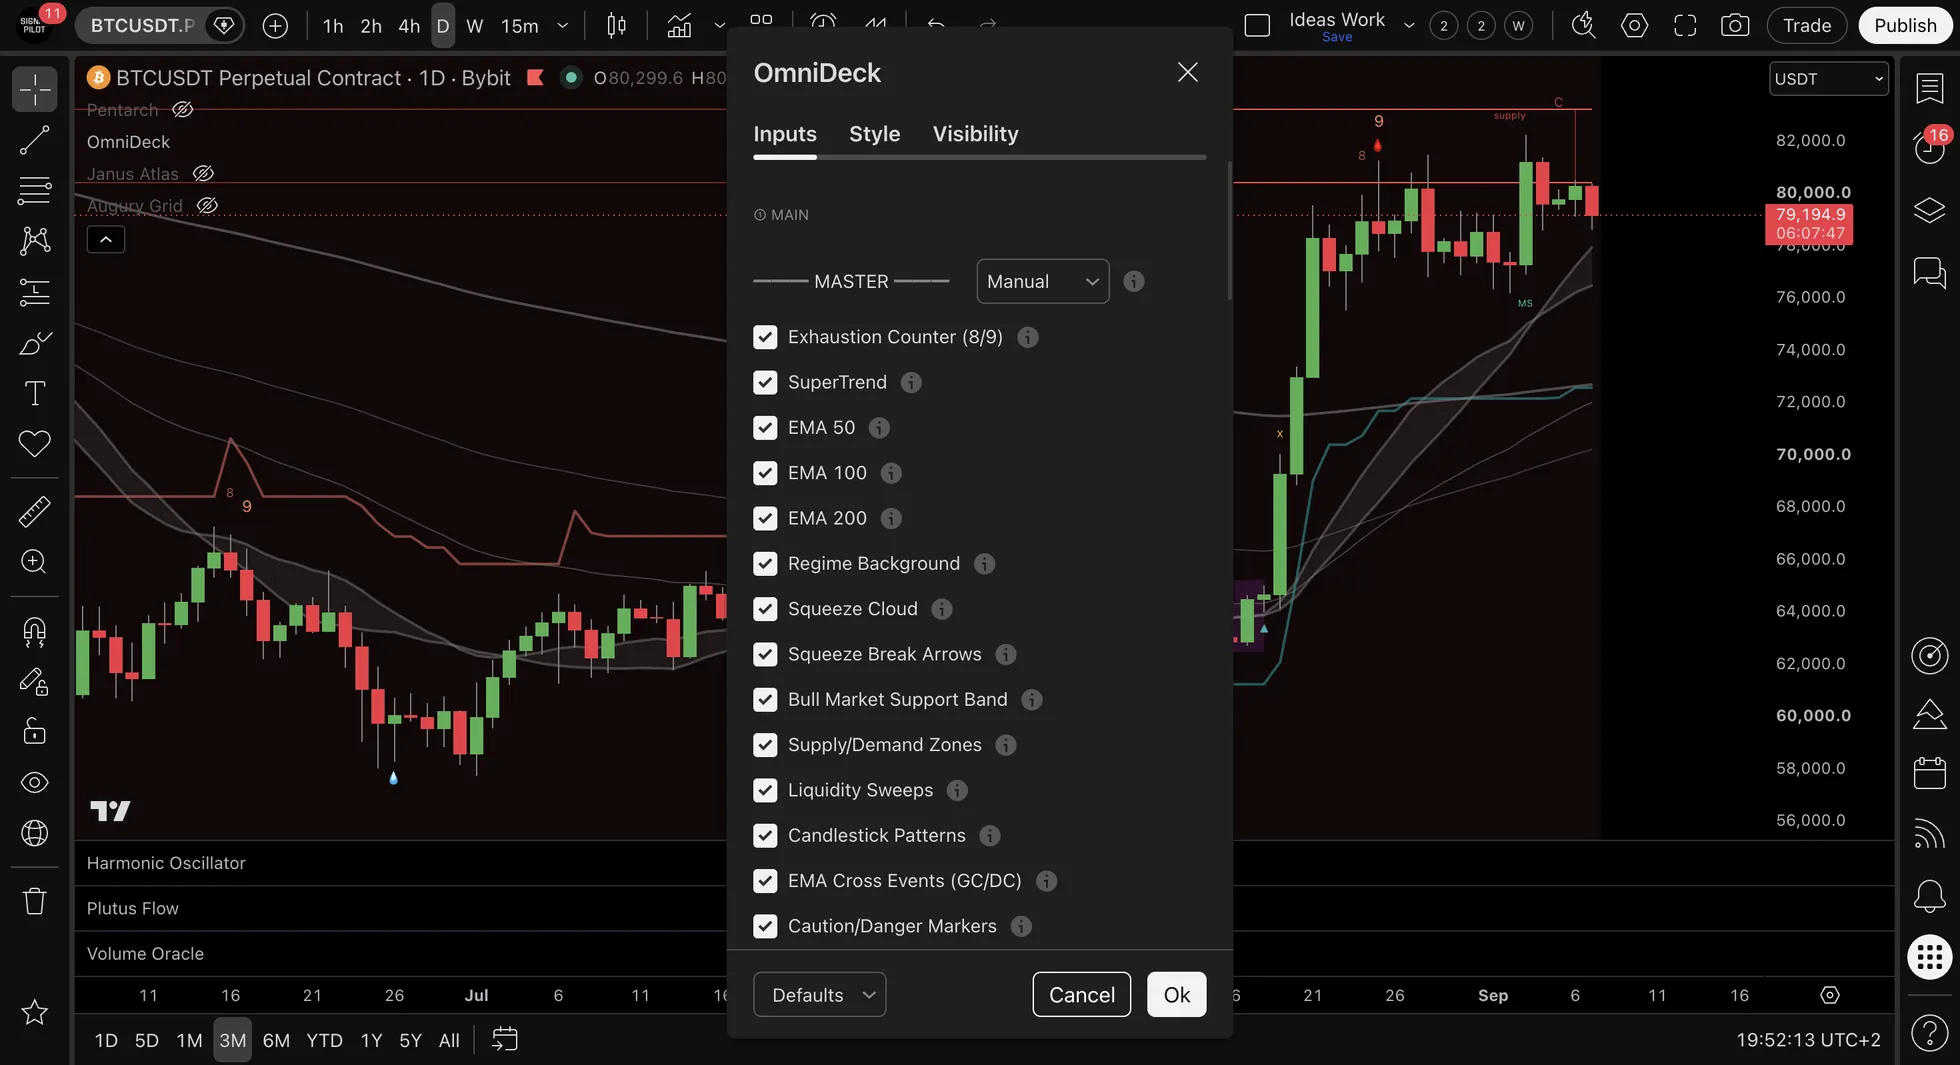
| Setting | Default | What it changes |
|---|---|---|
| The switches | Counter, SuperTrend, EMA 50/100/200, Regime on | Which systems draw and vote |
| MASTER | Manual | All On or All Off flips every system at once |
| Panel: Mode · Position · Size | Table · Top Right · Tiny | On a phone, Badge shows just the score, Horizontal a strip across the top |
| Timeframes: SuperTrend, BMSB, EMA Stack, Regime | Chart | Let these four vote from another timeframe |
| SuperTrend Mode | Consensus (2/3) | The two-out-of-three committee |
| Counter: Hide 8s | Off | Show only the 9s |
| Zones: Invalidate With · Hide Broken | Close · On | What breaks a zone, and whether broken zones disappear |
| Patterns: each of the sixteen | Seven on | Which candle patterns are watched |
Alerts
38 alerts in TradingView's alert window.
| Group | Alerts |
|---|---|
| Counter | 8 and 9, buy and sell side |
| Squeeze | Active · break up · break down |
| SuperTrend | Bullish flip · bearish flip |
| The lookout | Caution · Danger |
| Sweeps | Bullish · bearish |
| Averages and band | Golden cross · death cross · band crossed up · band crossed down |
| Zones | Supply broken · demand broken |
| Patterns | Each of the sixteen, plus any bullish and any bearish |
| The panel | High Confluence (a high score, on a closed bar) |
Good to know
- Agreement is rare, and that's the point. Most of the time the systems disagree, and the score says so.
- A show of hands, not a forecast. A high score means many systems point the same way now.
- Start small. Out of the box it's the counter, SuperTrend, the averages and the regime; switch the rest on one at a time.
- Read it with the others. Pentarch names the phase, Janus Atlas the levels.
Learning guide
Read it in order, with real examples and the common misreads: open the learning guide (2 minutes).
📞 Support
Technical Questions: support@signalpilot.io
Deepen your understanding with these articles from the Signal Pilot Blog:
Explore the methodology behind our indicator suite
Free Indicators vs Professional ToolsUnderstand what separates basic from advanced analysis
💬 Need Help?
Have questions about OmniDeck? Join our Discord community to get help from experienced users, share setups, and discuss approaches!
See Also
Related Pages:
- Pentarch - A separate indicator for cycle phases, read alongside OmniDeck rather than inside it
- Janus Atlas - A separate indicator that draws the levels OmniDeck does not
- Harmonic Oscillator - A separate momentum indicator with its own panel
- Volume Oracle - A separate indicator that reads volume as regime
- All Indicators At A Glance - Quick reference for all systems
Disclaimer: OmniDeck describes past price and volume; it does not predict. Results vary. Past performance does not guarantee future results. This is not financial advice.